Configuring API Manager
WSO2 Open Banking UK Toolkit contains TOML-based configurations. All the server-level configurations of the
API Manager instance can be applied using a single configuration file, which is the deployment.toml file.
Configuring deployment.toml
Follow the steps below to configure the deployment.toml file and set up the open banking flow for WSO2 API Manager.
-
Replace the
deployment.tomlfile as explained in the Setting up the servers section. -
Open the
<APIM_HOME>/repository/conf/deployment.tomlfile. -
Set the hostname of the API Manager:
[server] hostname = "<APIM_HOST>" -
Update the datasource configurations with your database properties, such as the username, password, JDBC URL for the database server, and the JDBC driver.
- Given below are sample configurations for a MySQL database. For other DBMS types and more information, see Setting up databases.
[database.shared_db] url = "jdbc:mysql://localhost:3306/openbank_govdb?autoReconnect=true&useSSL=false" username = "root" password = "root" driver = "com.mysql.jdbc.Driver"[database.apim_db] url = "jdbc:mysql://localhost:3306/openbank_apimgtdb?autoReconnect=true&useSSL=false" username = "root" password = "root" driver = "com.mysql.jdbc.Driver"[database.config] url = "jdbc:mysql://localhost:3306/openbank_am_configdb?autoReconnect=true&useSSL=false" username = "root" password = "root" driver = "com.mysql.jdbc.Driver"[[datasource]] id="WSO2UM_DB" url = "jdbc:mysql://localhost:3306/openbank_userdb?autoReconnect=true&useSSL=false" username = "root" password = "root" driver = "com.mysql.jdbc.Driver" -
Update the following configurations with the hostname of the Identity Server.
[apim.key_manager]
service_url = "https://<IS_HOST>:9446${carbon.context}services/"
[apim.key_manager.configuration] ServerURL = "https://<IS_HOST>:9446${carbon.context}services/"[open_banking.dcr] #jwks_endpoint_name = "" #app_name_claim = " " token_endpoint = https://<APIM_HOST>:9443/oauth2/token -
Add the following and configure the hostname of the Identity Server.
[open_banking.gateway.consent.validation] endpoint = "https://<IS_HOST>:9446/api/openbanking/consent/validate" -
Add the following gateway executor configurations for the Consent flow:
[[open_banking.gateway.openbanking_gateway_executors.type]] name = "Consent" [[open_banking.gateway.openbanking_gateway_executors.type.executors]] name = "com.wso2.openbanking.accelerator.gateway.executor.impl.selfcare.portal.UserPermissionValidationExecutor" priority = 1 -
Configure the endpoints to retrieve sharable and payable accounts. This is required when displaying the accounts on the consent page.
[open_banking_uk.consent] payable_account_retrieval_endpoint = "http://<APIM_HOST>:9763/api/openbanking/uk/backend/services/bankaccounts/bankaccountservice/payable-accounts" sharable_account_retrieval_endpoint = "http://<APIM_HOST>:9763/api/openbanking/uk/backend/services/bankaccounts/bankaccountservice/sharable-accounts" -
To generate the self link in the consent JSON response, configure the URLs of the exposed APIs as follows:
[open_banking_uk.consent] account_consent_self_link = "https://<APIM_HOST>:8243/open-banking/{version}/aisp/" payment_consent_self_link = "https://<APIM_HOST>:8243/open-banking/{version}/pisp/" cof_consent_self_link = "https://<APIM_HOST>:8243/open-banking/{version}/cbpii/" -
Enable Request-URI validation that validates
AccountIDin the request against theAccountIDin consent during account retrieval. By default, this is disabled and the configuration is set tofalse.[open_banking_uk.consent] Validate_acc_id_on_retrieval_enabled = true -
To validate API requests:
Note
This is only available as a WSO2 Update from WSO2 Open Banking API Manager UK Toolkit Level 1.0.0.6 and WSO2 Open Banking Identity Server UK Toolkit Level 1.0.0.7 onwards. For more information on updating, see Getting WSO2 Updates.
Click here to see JWS Signature Validation configurations
-
Configure the
UKJwsRequestHandlingExecutorexecutor. The priority ofUKJwsRequestHandlingExecutormust be higher thanConsentEnforcementExecutor. For example:[[open_banking.gateway.openbanking_gateway_executors.type.executors]] name = "com.wso2.openbanking.uk.gateway.executors.jws.UKJwsRequestHandlingExecutor" priority = 4 [[open_banking.gateway.openbanking_gateway_executors.type.executors]] name = "com.wso2.openbanking.accelerator.gateway.executor.impl.consent.ConsentEnforcementExecutor" priority = 5 -
Enable validation and define the valid signing algorithms for the JWS sent in the request header:
[open_banking.jws_signature.signature_validation] enabled=true [[open_banking.jws_signature.signature_validation.allowed_algorithms]] algorithm="PS256" [[open_banking.jws_signature.signature_validation.allowed_algorithms]] algorithm="ES256" -
The signing keys used for validation by an application are cached. The default expiration time for cache modification and access are 60 minutes. To change these values, add and configure the following:
[open_banking.common.identity.cache] cache_modified_expiry_minuites=30 cache_access_expiry_minuites=30 -
The default trust anchor used for the validation is
openbanking.org.uk. To change this value, add and configure the following:[open_banking.uk.jws_signature.obie] org_id="0015800001HQQrZAAX" [open_banking.uk.jws_signature.obie.trusted_anchors] signature_validation="openbanking.org.uk" -
By default, signature validation is enabled for the Payments API. Configure the API contexts of other APIs that require signature validation. For example:
[[open_banking.uk.jws_signature.signature_validation.mandated_apis]]
api_context="/open-banking/v3.1/event"
-
-
To let the TPPs verify that the request wasn't tampered with, sign the responses:
Note
This is only available as a WSO2 Update from WSO2 Open Banking API Manager UK Toolkit Level 3.0.0.x and WSO2 Open Banking Identity Server UK Toolkit Level 3.0.0.x onwards. For more information on updating, see Getting WSO2 Updates.
Click here to see JWS Response Signing configurations
-
Configure the
UKJwsResponseHandlingExecutorexecutor and set the priority to999:[[open_banking.gateway.openbanking_gateway_executors.type.executors]] name = "com.wso2.openbanking.uk.gateway.executors.jws.UKJwsResponseHandlingExecutor" priority = 999 -
Enable signing and define the response signing algorithms:
[open_banking.jws_signature.response_signing] enabled=true allowed_algorithm="PS256" -
Configure the alias and kid values of the signing certificates:
signing_cert_alias: The alias of the signing certificate stored in the keystore. Used to sign responses in a production environment. Default value iswso2carbon.sandbox_signing_cert_alias: The alias of the signing certificate stored in the keystore. Used to sign responses in a sandbox environment. Default value iswso2carbon.signing_cert_kid: The kid value of the corresponding public key of the private key, which is used for signing in a production environment. Default value is1234. Mandatory configuration.sandbox_signing_cert_kid: The kid value of the corresponding public key of the private key, which is used for signing in a sandbox environment. Default value is5678. Mandatory configuration.[open_banking.ob_identity_retriever.server] signing_cert_alias="wso2carbon" sandbox_signing_cert_alias="wso2carbon" signing_cert_kid="1234" sandbox_signing_cert_kid="5678"
-
Configure the JWKS size limit and timeout and values:
[open_banking.ob_identity_retriever.jwks_retriever] size_limit=51200 connection_timeout=2000 read_timeout=2000 -
The default trust anchor used for the signing is
openbanking.org.uk. To change this value, add and configure the following:[open_banking.uk.signing_config] obie.trusted_anchors.signing = "openbanking.org.uk" obie.org_id="0015800001HQQrZAAX" - By default, response signing is enabled for the Payments API. Configure the API contexts of other APIs
that require response signing. For example:
[[open_banking.uk.signing_config.response_sig_required_apis]]
api_context=”/open-banking/v3.1/event”
-
-
If you want to use the Data publishing feature:
- Enable the feature and configure the
server_urlproperty with the hostname of WSO2 Streaming Integrator.
[open_banking.data_publishing] enable = true username="$ref{super_admin.username}@carbon.super" password="$ref{super_admin.password}" server_url = "{tcp://<SI_HOST>:7612}" - Enable the feature and configure the
-
If you are using WSO2 API Manager 4.2.0, you need to change the API Manager REST API version from V2 to V3.
- Locate the
[open_banking.dcr.apim_rest_endpoints]tag. By default, the configuration is commented out. - Uncomment the configuration and update as shown below:
[open_banking.dcr.apim_rest_endpoints]
app_creation = "api/am/devportal/v3/applications"
key_generation = "api/am/devportal/v3/applications/application-id/map-keys"
api_retrieve = "api/am/devportal/v3/apis"
api_subscribe = "api/am/devportal/v3/subscriptions/multiple"
retrieve_subscribe="api/am/devportal/v3/subscriptions"
- Locate the
Starting servers
-
Go to the
<APIM_HOME>/bindirectory using a terminal. -
Run the
wso2server.shscript as follows:./api-manager.sh
Configure Identity Server as Key Manager
- Sign in to the Admin Portal of API Manager at
https://<APIM_HOST>:9443/admin. - Go to Key Manager on the left main menu.
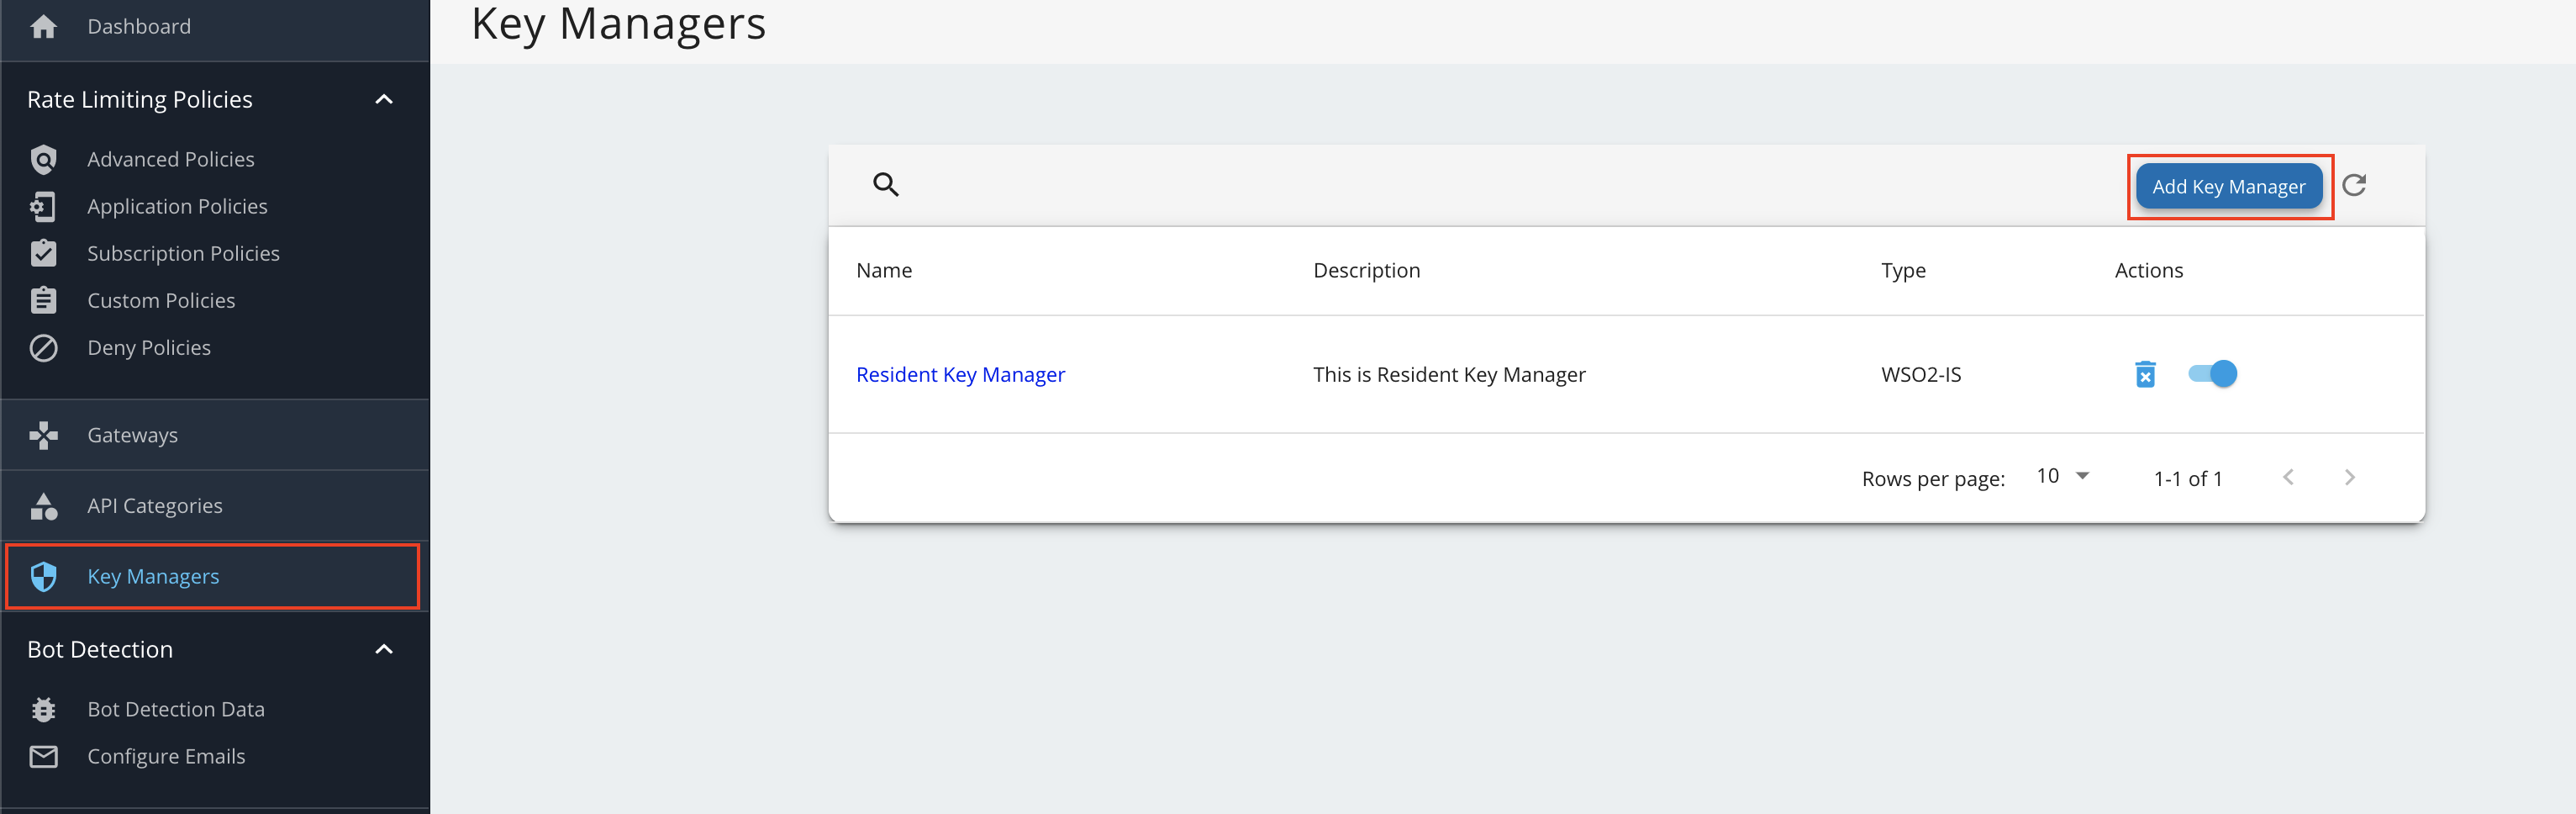
-
Click Add New Key Manager and configure Key Manager.
Click here to see the full list of configurations...
Configuration Description Value Name The name of the authorization server. OBKM Display Name A name to display on the UI. OBKM Description The name of the authorization server. (Optional) Key Manager Type The type of the Key Manager to be selected. Select ObKeyManagerWell-known-url The well-known URL of the authorization server (Key Manager). https://<IS_HOST>:9446/oauth2/token/.well-known/openid-configurationIssuer The issuer that consumes or validates access tokens. https://<IS_HOST>:9446/oauth2/tokenKey Manager Endpoints Client Registration Endpoint The endpoint that verifies the identity and obtain profile information of the end-user based on the authentication performed by an authorization server. https://<IS_HOST>:9446/keymanager-operations/dcr/registerIntrospection Endpoint The endpoint that allows authorized protected resources to query the authorization server to determine the set of metadata for a given token that was presented to them by an OAuth Client. https://<IS_HOST>:9446/oauth2/introspectToken Endpoint The endpoint that issues the access tokens. https://<IS_HOST>:9446/oauth2/tokenRevoke Endpoint The endpoint that revokes the access tokens. https://<IS_HOST>:9446/oauth2/revokeUserinfo Endpoint The endpoint that allows clients to verify the identity of the end-user based on the authentication performed by an authorization server, as well as to obtain basic profile information about the end-user. https://<IS_HOST>:9446/oauth2/userinfo?schema=openidAuthorize Endpoint The endpoint used to obtain an authorization grant from the resource owner via the user-agent redirection. https://<IS_HOST>:9446/oauth2/authorizeScope Management Endpoint The endpoint used to manage the scopes. https://<IS_HOST>:9446/api/identity/oauth2/v1.0/scopesConnector Configurations Username The username of an admin user who is authorized to connect to the authorization server. Password The password corresponding to the latter mentioned admin user who is authorized to connect to the authorization server. Claim URIs Consumer Key Claim URI The claim URI for the consumer key. (Optional) Scopes Claim URI The claim URI for the scopes (Optional) Grant Types The supported grant types. According to your open banking specification, add multiple grant types by adding a grant type press Enter. For example, refresh_token,client_credentials,authorization_code.(Optional) Certificates PEM Either copy and paste the certificate in PEM format or upload the PEM file. (Optional) JWKS The JSON Web Key Set (JWKS) endpoint is a read-only endpoint. This URL returns the Identity Server's public key set in JSON web key set format. This contains the signing key(s) the Relying Party (RP) uses to validate signatures from the Identity Server. https://<IS_HOST>:9446/oauth2/jwksAdvanced Configurations Token Generation This enables token generation via the authorization server. (Mandatory) Out Of Band Provisioning This enables the provisioning of Auth clients that have been created without the use of the Developer Portal, such as previously created Auth clients. (Mandatory) Oauth App Creation This enables the creation of Auth clients. (Mandatory) Token Validation Method The method used to validate the JWT signature. Self Validate JWT The kid value is used to validate the JWT token signature. If the kid value is not present, gateway_certificate_aliaswill be used.(Mandatory) Use introspect The JWKS endpoint is used to validate the JWT token signature. - Token Handling Options This provides a way to validate the token for this particular authorization server. This is mandatory if the Token Validation Method is introspect. (Optional) REFERENCE The tokens that match a specific regular expression (regEx) are validated. e.g., [0-9a-fA-F]{8}-[0-9a-fA-F]{4}-[1-5][0-9a-fA-F]{3}-[89abAB][0-9a-fA-F]{3}-[0-9a-fA-F]{12}(Optional) JWT The tokens that match a specific JWT are validated. Select this icon CUSTOM The tokens that match a custom pattern are validated. (Optional) Claim Mappings Local and remote claim mapping. (Optional) -
Go to the list of Key Managers and select Resident Key Manager.
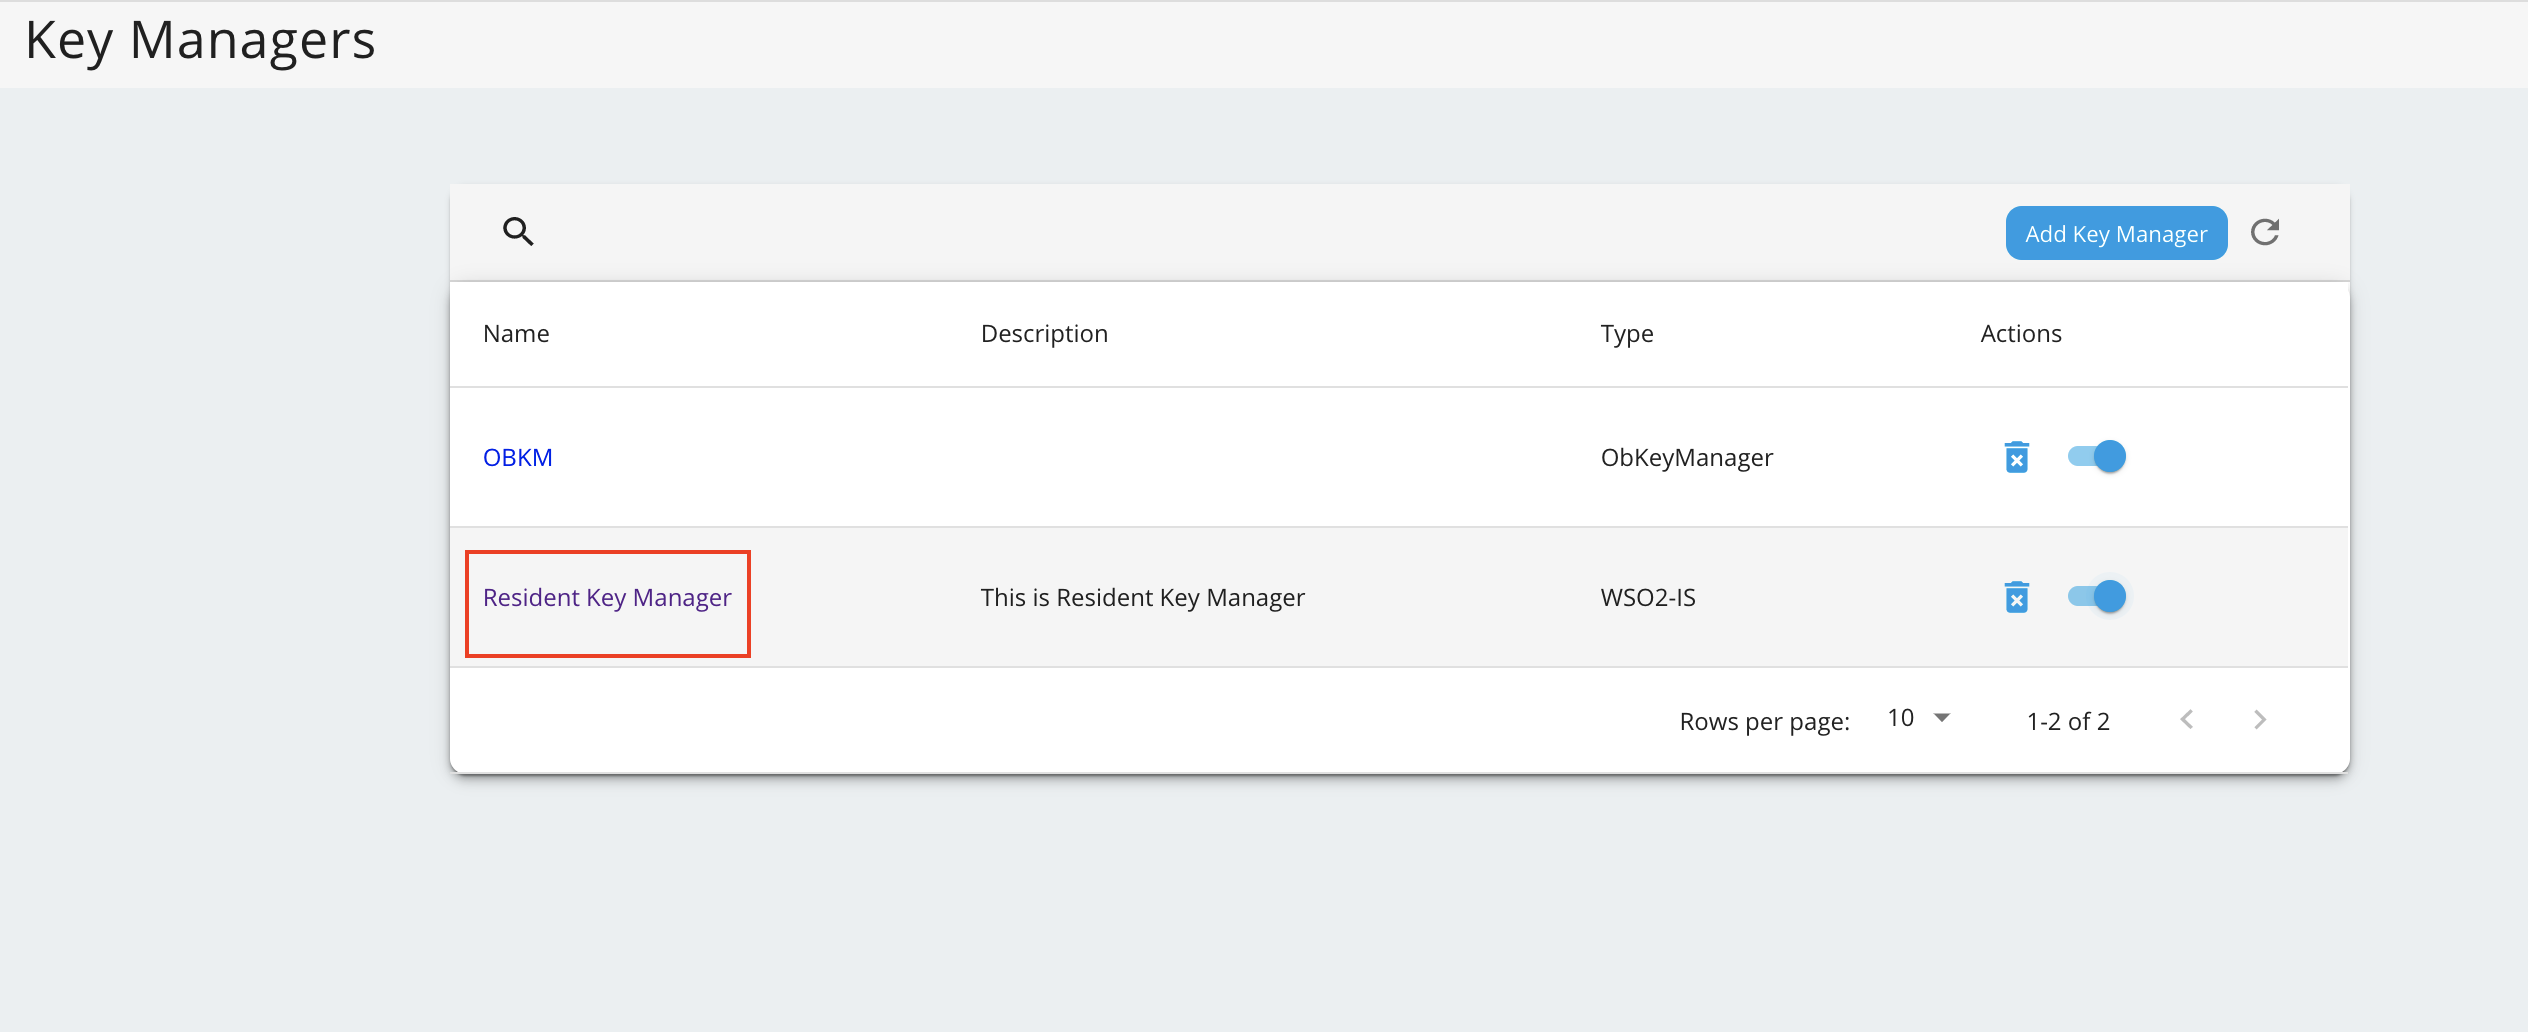
-
Locate Connector Configurations and provide a username and a password for a user with super admin credentials.
-
Click Update.
-
Disable the Resident Key Manager.
